Importing & Managing Sample
Once you have prepared your sample (see Preparing Sample Files), the next step in distributing your survey is to upload the sample to the Control Panel sample management system. Importing a sample file generates a unique survey link for each entry in the sample, meaning that survey responses can be tied to individual respondents.
Importing a Sample File
To import a sample file:
- In the Manage Sample tab of the Control Panel, select the required project from the drop-down list.

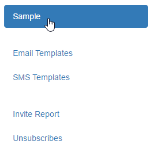
- Click on the Sample button
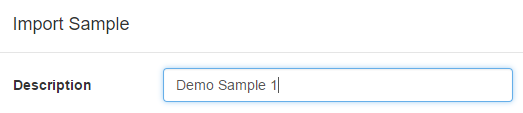
- Click on Import List to open the Import Sample dialogue box

- Type in a name or description for your sample list in the Description field.
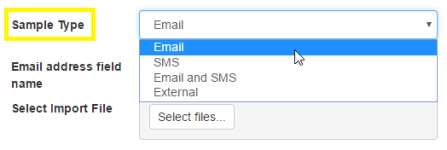
- Select Sample Type from drop-down list (Email, SMS, Email and SMS, or External).
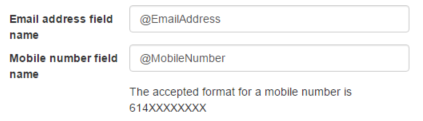
- Where applicable, enter the email address field name as it appears in the sample file, prefaced with an "@" (the default is @EmailAddress), and/or the mobile phone number field name as it appears in the sample file, prefaced with an "@" (the default is @MobileNumber).
- Click on Select files, locate the sample file and then click Open.

- To complete the import, click Upload

-
A message will be displayed at the top of the page to indicate whether the import was completed successfully. If you receive a failure message, check that the email address or mobile phone number field specified in step 6 matches the field name in the sample file and repeat steps 3-7.


Viewing Import Records
Once a sample file has been successfully imported it will be visible in the imported sample list.

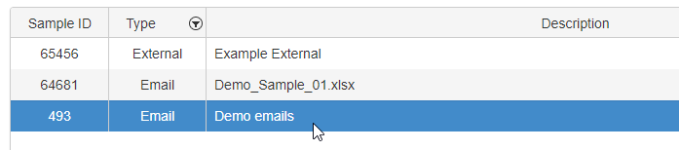
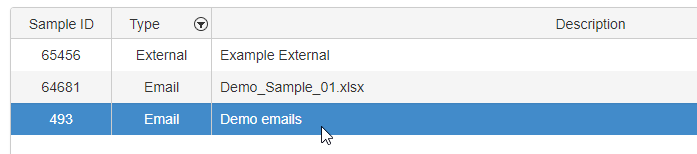
Each imported sample file is automatically assigned a unique Sample ID. For each Sample ID, you can quickly view the sample type, description, count of successfully imported records, the date and time of import, the user who performed the import, and the status of the import.
To view the individual records within a Sample ID, simply click on that ID and the records will be shown below.
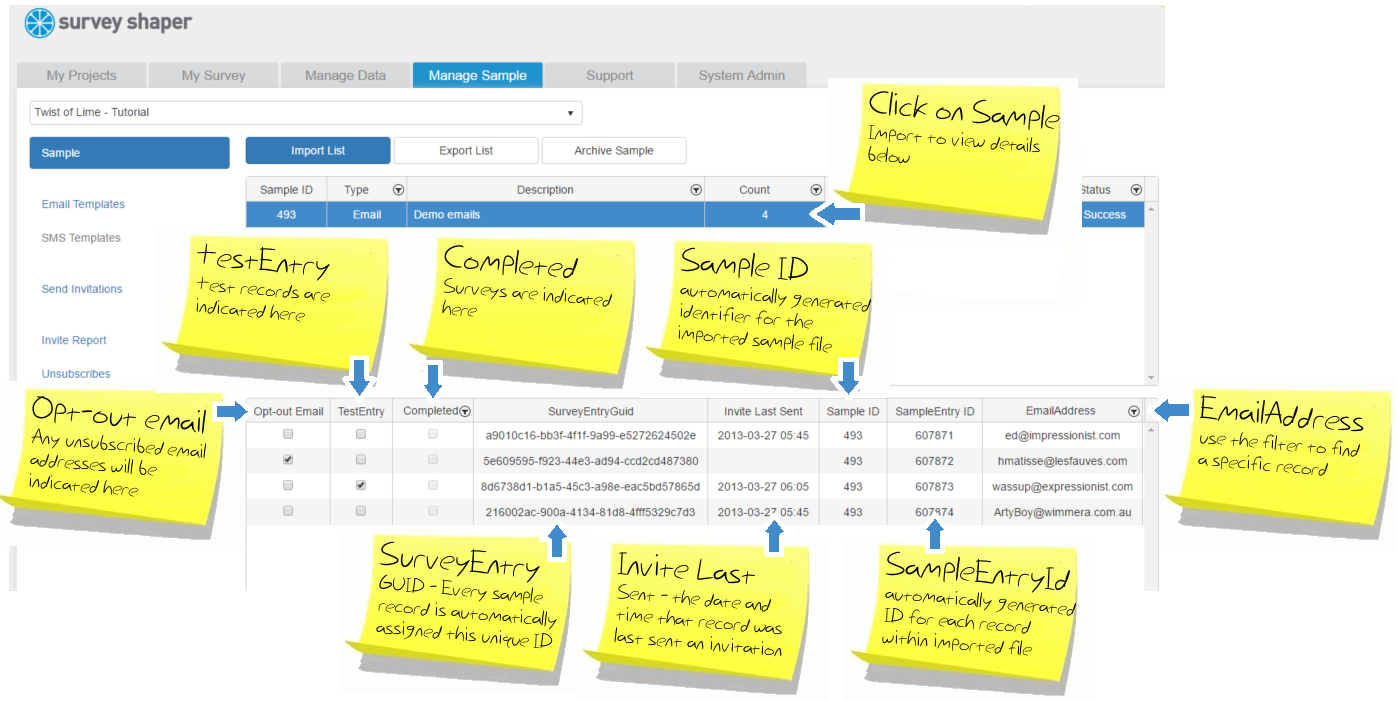
- Opt-out Email – Indicates whether the email address for this record is unsubscribed.
- Opt-out SMS – Indicates whether the mobile number for this record is unsubscribed.
- Completed – Indicates whether the respondent for this record has completed the survey.
- SurveyEntryGUID – Automatically assigned unique ID, generated for every record.
- Invite Last Sent – The date and time that the record was last sent an invitation.
- Sample ID - Automatically generated ID for the imported sample file.
- SampleEntryID - Automatically generated ID for each record within an imported sample file.
- EmailAddress – The email address associated with the record.
- MobileNumber – The email address associated with the record.
Exporting Sample Lists
To export a sample list:
- Click on the Sample ID that you wish to export
- Click on the Export List button

- Look for the downloaded zip file and open the Excel file

Archiving Sample Lists
To remove an imported sample file from the list:
- Click on the Sample ID that you wish to archive

- Click on the Archive Sample button